All Categories
Featured
Table of Contents
- – Motorhome Generator Repair Near Me Guasti, CA
- – OCRV Center
- – Rv Repair Places Near Me Guasti, CA
- – Rv Repair And Service Near Me Guasti, CA
- – Motorhome Repair Service Guasti, CA
- – Rv Solar Installation Guasti, CA
- – Rv Mechanics Near Me Guasti, CA
- – Best Rv Repair Near Me Guasti, CA
- – Motorhome Repair Near Me Guasti, CA
- – Rv Floor Repair Near Me Guasti, CA
- – Full Service Rv Repair Near Me Guasti, CA
- – Rv Service And Repair Near Me Guasti, CA
- – OCRV Center
Motorhome Generator Repair Near Me Guasti, CA
Marvin Braun, owner of Accuracy motor home, is an RVIA/RVDA Master Qualified Motor Home Technician and a full time RVer. He and his other half cope with and utilize solar power every day. Marvin stays on par with the most up to date innovation, consisting of hybrid inverters and lithium battery systems. He sets up systems on all courses of RVs including recreational vehicle, fifth wheels, travel trailers, Airstreams and even more.
Carry out the finest workmanship possible. Deal customer education and learning on treatment and upkeep of their brand-new solar setup. Provide the finest quality elements in the industry.

Before April of 2018, our only boondocking experience in the first 20 months of traveling the country in our RV, was 3 evenings at a state park in Rhode Island, and one evening at a vehicle stop parking area in Laramie Wyoming. The weekend break spent in George Washington State Park near Divine Superintendence Rhode Island was invested outside, playing in a lake, enjoying the warm summertime weather condition, and our only electrical demands were for the lights.
The heater attracts a great deal of energy, and running all night would certainly kill any single 12v battery in a matter of hours. That wasn't the moment we decided to get even more batteries or anything like that, it was just our only experience with outdoor camping off grid for any amount of time with our Cyclone.
Rv Repair Places Near Me Guasti, CA
Windy Nation seemed to have the marketplace caught on Amazon motor home Solar, so I opted for them. To get the power out of the batteries, I added 2 standalone outlets directly to the inverter, one in the cooking area for our Immediate Pot, and the other in an easy spot to access for billing and whatever else we needed it for.
Although the sunlight never embeds in Alaska, we definitely battled with the 3 panels on the roofing since it was cloudy and over cast a lot of the moment. The good news is we can bill the batteries a couple of different methods: Photovoltaic panel, when the sun occur to be out Alternator, when the motorhome's engine was running With the on board generator We traveled in the Summertime Residence from April 15th to August 25th and in those 4 months I most definitely discovered a whole lot about powering a motor home solar off the grid.
Perhaps an extra battery (and better batteries), an additional panel or 2, and be much more aware of the size and length of circuitry I used for the different connections throughout the system. In general it was a fantastic inexpensive remedy that functioned. The major takeaway from that experience was we did NOT wish to be reliant on 2 isolated electrical outlets; we desired our motor home to work the very same whether it was connected in or not.
This is a rabbit hole like you have never ever seen! There are so many means to skin this feline that my head was spinning. I was looking into panels, inverters, inverter/chargers, fee controllers, batteries, wiring, breakers, battery displays, and so on. There is a wide range of information available, yet it was all in some foreign language that chatted in regards to watts, ohms, volts, amps, gauge electrical wiring, hybrid, assist, bluetooth, Wi-Fi, and the list continues! We bought a Kill-a-watt electrical power usage display, began measuring our power usage and finished an energy Audit.
Rv Repair And Service Near Me Guasti, CA
We have the ability extremely promptly to use a lot of power. When believing through the procedure, and what we intended to complete with the system, I kept thinking back to our solar objective declaration from the Summer House, we desired our recreational vehicle to work the same whether it was plugged in or not! My please note: I am great with DC electrical systems, however recognize just enough concerning a/c systems to be harmful.
This blog site is NOT indicated to be an absolute source for powering your recreational vehicle, yet more to document our develop and journey to being energy independent. I stated above, our 40' plaything hauler 5th wheel originated from the factory with a single 12 volt battery. We had changed it in the previous year, and honestly had not really used it for a lot considering that we were always plugged in.

With that said being claimed, our 50 amp motor home has 2 x 120-volt hotlines entering into the motor home's major air conditioning distribution panel. They are separated right into 2 "lines", Line 1 and Line 2. Line 1 is the main portion of the panel. It feeds 120 volts of air conditioner to the vital circuits of the recreational vehicle.
Motorhome Repair Service Guasti, CA
Victron Multiplus Inverter/Charger A lot of the installs that I was following, all appeared to circle back to a couple of different suppliers, Magnum and Victron seemed to be leading the method. Several of my pals were making use of Victron components with a great deal of success and high appreciation, so I chose their tools for the core of the system.
However we will certainly reach that later on! Lucky for me, a friend of ours is a Victron Dealership, and I had the ability to get an excellent bargain on the meat and potatoes of the system. 2 x Victron 12/3000/120 -50 Multiplus Inverter/Chargers These hold true sine wave inverter/chargers, and replace the existing converter charger already in the RV.
Rv Solar Installation Guasti, CA
Space was a premium up there, and the inverters had certain air void demands. The Generator has a sheet metal shroud separating it from the remainder of the compartment, so I chose to reduce that shroud down 6" to obtain the added room I required. I reduced around the shadow, dropped it down, and put pop rivets to hold it in position.
According to the Victron Manual, the inverters can be placed horizontally or vertically, so I chose to mount them horizontally on their sides on the wall. In doing this, I fulfilled every one of the needed air gaps. The original wall surface was just" fragment board, so to sustain the 70lbs that each of the inverters consider, I added a piece of" plywood throughout the back of the wall behind them.
Rv Mechanics Near Me Guasti, CA
Given that we are chatting planetary system, obviously we needed photovoltaic panels. There are several different alternatives out there for solar panels; in the long run I selected to choose Constant Resources for a few various reasons. Was the cost. These panels are $185 each shipped for 200 Watt Panels, which has to do with as excellent a price you will certainly discover for that dimension panel, brand-new and delivered to your door (or in our situation Walgreens)! Next was credibility.
One of my friends has one that was cracked during installment, and it still functioned well! Something I suched as regarding the specific panels I went with is that I might obtain the exact same specifications in a square or rectangular panel. In the end, I went with all rectangles, yet had I wished to (or when I intend to) add even more panels, I can obtain the various forms and make much better use my roof covering room.
Best Rv Repair Near Me Guasti, CA
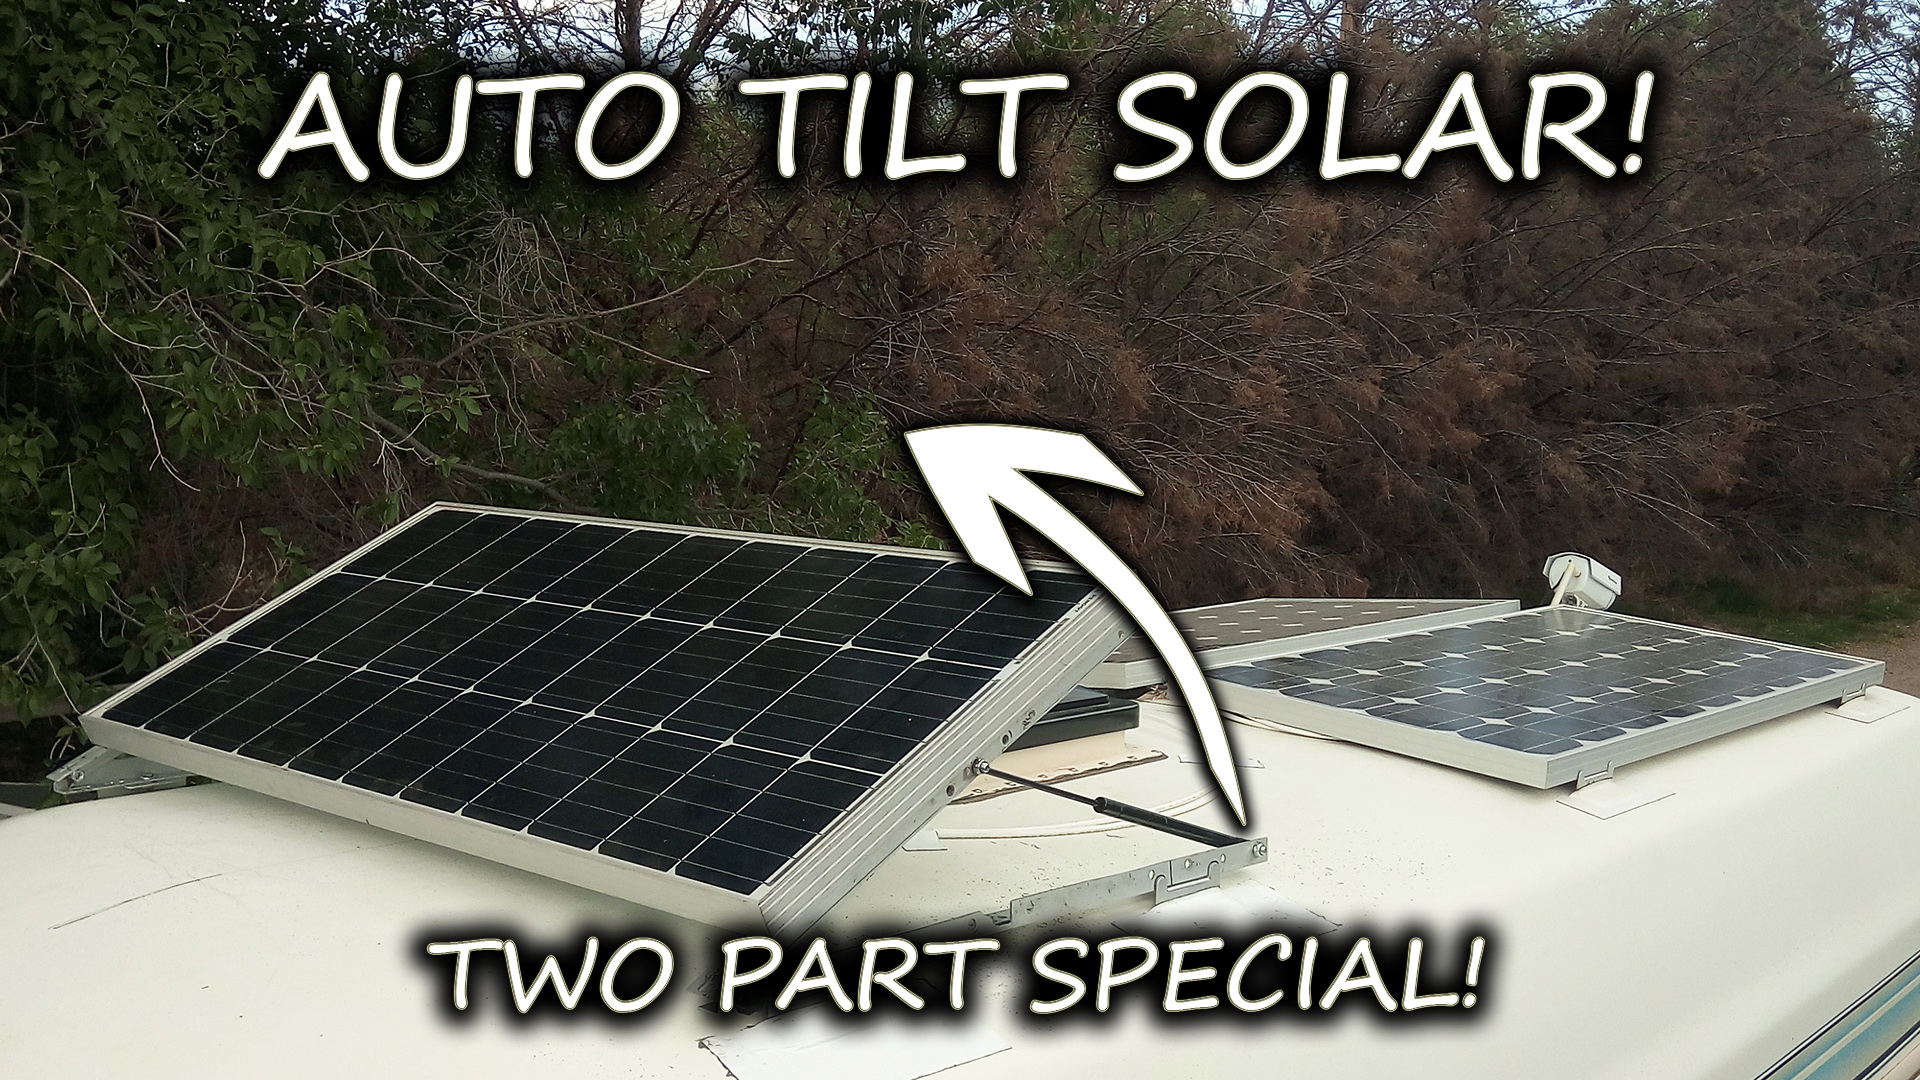
We hadn't tilted as soon as, and 1 set of the tilting braces cost greater than the total collection of the Z braces. So I went spending plan on the installing braces. A buddy of mine that helped me set up many of the system showed me a terrific way to install the panels.
We pierced pilot openings, put dicor in the red, screwed them down and after that covered the base of the bracket and surrounding roofing with dicor. The eternabond tape offered it an added layer of water seal, and safeguarded the rubber from being tore if the metal Z bracket happened to shake or relocate in any way.
It's important to have a plan in position for the electrical wiring. When you start handling cutting and kinking lugs onto the cable televisions, it obtains extremely costly, and you do NOT wish to have to crimp, reduce, and crimp once more. That will certainly cost you $5 or more for every single time you overestimate cord length and waste a cable lug.
Motorhome Repair Near Me Guasti, CA
Given that I was mounting 2 inverters and 2 fee controllers, it was necessary to maintain those 2 systems different. I made use of red and blue wire tags to identify wiring so I would not get them perplexed. I additionally applied the exact same red and blue stickers on the components themselves to aid keep things directly.
Obtain a great set of cutters and a stripper for hefty gauge electrical wiring. Hydraulic crimping device. I was fortunate adequate to have a pal assisting me with the majority of the installation that had this kinking device, and when he left, I had a hard time to locate a crimping tool to end up the task that really did not entail just defeating the lugs with a hammer.
I obtained it off Amazon for much less than $30, and it made making my connections in between the panels much easier. It does not have to be super fancy, yet the capacity to gauge resistance/continuity and both A/c and DC voltage is important.
Rv Floor Repair Near Me Guasti, CA
From Home Depot I got a waterproof electric box concerning 8"x8"x6". I pierced 5 openings right into the box: 4 x Small holes, one each for circuitry coming from the panels with weather proof fits to maintain the aspects out 1" opening in the lower leading the wires through the roofing right into the wall surfaces of the RV Inside the box the 10 AWG cables from the panels were entwined onto 6 AWG cords for its journey with the RV to the solar charge controllers Victron elements all function extremely well together and share details.
In addition to all of this circuitry, the Inverters and the Battery screen included voltage sense and temperature sense wires that needed to be connected to the battery financial institution accordingly. Let's start with the solar circuit. I am running 6 x 200 watt panels configured right into 2 x 3 panel legs wired in series.
Full Service Rv Repair Near Me Guasti, CA
I found it extra economical to run 2 different smaller sized controllers than 1 bigger controller efficient in managing the amount of power originating from the panels. Additionally, because the 2 strings are running independent of each other, if there is color or lack of angle to the sun on 1 of the 2 strings, it will not prevent the power manufacturing of the various other string.
Remember; when the panels are in sunlight, they are creating power, so I utilized the circuit breakers in this position to give me the capability to isolate them entirely from the rest of the system. From there the electrical wiring runs right into the solar charge controllers in the front area near the battery bank.
Again the factor is to not only safeguard, however to provide me an area to separate the system if demand be. The last leg of circuitry in the solar circuit goes from the breaker into the positive and negative busbars that are straight tied into the battery bank. Let's keep going with the DC (12 volt) system.
Rv Service And Repair Near Me Guasti, CA
A DC system is more comparable to the kind of electric system located in a car. The RV's 12 volt system has its very own security and control in area, so I did not change it any method; I merely powered it from the positive and negative busbars from the battery financial institution.
OCRV Center
Address: 23281 La Palma Ave Yorba Linda, CA 92887Phone: (714) 909-1444
Email: [email protected]
OCRV Center
This part of the circuit can run extremely high quantities of electrical energy depending on what you are powering, so this needs substantial security. From the Battery Bank, I ran huge 4/o electrical wiring into a 400 amp fuse. This catastrophic failing fuse is indicated to protect the electrical wiring in between the inverters and the battery bank.
Rv Solar Panel Installation Guasti, CARv Repair Services Near Me Guasti, CA
Rv Repair And Service Near Me Guasti, CA
Motorhome Repair Near Me Guasti, CA
Rv Floor Repair Near Me Guasti, CA
Motorhome Refrigerator Repair Guasti, CA
Rv Repair Service Near Me Guasti, CA
Motorhome Repair Shop Guasti, CA
Rv Repair Shops Near My Location Guasti, CA
Rv Delamination Repair Near Me Guasti, CA
Motorhome Generator Repair Near Me Guasti, CA
Rv Mechanics Near Me Guasti, CA
Rv Plumbing Repair Near Me Guasti, CA
Rv Mechanics Near Me Guasti, CA
Full Service Rv Repair Near Me Guasti, CA
Motorhome Repair Shops Guasti, CA
Best Rv Repair Near Me Guasti, CA
Motorhome Service And Repair Near Me Guasti, CA
Rv Mechanics Near Me Guasti, CA
Rv Repair Centers Near Me Guasti, CA
Rv Repair Shops Near My Location Guasti, CA
Camper Ac Repair Near Me Guasti, CA
Motorhome Repair Near Me Guasti, CA
Rv Floor Repair Near Me Guasti, CA
Rv Repair And Service Near Me Guasti, CA
Rv Repairs Near Me Guasti, CA
Motorhome Generator Repair Near Me Guasti, CA
Motorhome Repair Service Guasti, CA
Rv Solar Panel Installation Guasti, CA
Rv Refrigerator Repair Near Me Guasti, CA
Rv Solar Panel Installation Guasti, CA
Motorhome Repair Shop Guasti, CA
Rv Delamination Repair Near Me Guasti, CA
Rv Solar Panel Installation Guasti, CA
Rv Delamination Repair Near Me Guasti, CA
Motorhome Repair Shops Guasti, CA
Rv Repair Service Near Me Guasti, CA
Motorhome Awning Repair Guasti, CA
Motorhome Generator Repair Near Me Guasti, CA
Motorhome Repair Near Me Guasti, CA
Best Rv Repair Near Me Guasti, CA
Rv Solar Panel Installation Guasti, CA
Rv Repair Service Near Me Guasti, CA
Motorhome Repair Shop Guasti, CA
Rv Delamination Repair Near Me Guasti, CA
Rv Mechanics Near Me Guasti, CA
Motorhome Repair Shop Guasti, CA
Motorhome Repair Shop Guasti, CA
Rv Service Repair Near Me Guasti, CA
Motorhome Refrigerator Repair Guasti, CA
Rv Solar Installation Guasti, CA
Rv Service And Repair Near Me Guasti, CA
Motorhome Repair Shops Guasti, CA
Rv Ceiling Repair Guasti, CA
Rv Ceiling Repair Guasti, CA
Rv Repair Centers Near Me Guasti, CA
Full Service Rv Repair Near Me Guasti, CA
Rv Ceiling Repair Guasti, CA
Motorhome Generator Repair Near Me Guasti, CA
Motorhome Repair Near Me Guasti, CA
Rv Solar Installation Guasti, CA
Rv Solar Panel Installation Guasti, CA
Rv Service Repair Near Me Guasti, CA
Rv Repair Shops Near My Location Guasti, CA
Rv Solar Installation Guasti, CA
Motorhome Refrigerator Repair Guasti, CA
Rv Plumbing Repair Near Me Guasti, CA
Rv Delamination Repair Near Me Guasti, CA
Rv Repair Service Near Me Guasti, CA
Motorhome Awning Repair Guasti, CA
Rv Repair Places Near Me Guasti, CA
Rv Service Repair Near Me Guasti, CA
Rv Repairs Near Me Guasti, CA
Rv Service And Repair Near Me Guasti, CA
Rv Generator Repair Guasti, CA
Motorhome Repair Service Guasti, CA
Motorhome Repair Near Me Guasti, CA
Motorhome Service And Repair Near Me Guasti, CA
Companies Near Me Seo Guasti, CA
Companies Near Me Seo Package Guasti, CA
Camper Ac Repair Near Me Guasti, CA
OCRV Center
Table of Contents
- – Motorhome Generator Repair Near Me Guasti, CA
- – OCRV Center
- – Rv Repair Places Near Me Guasti, CA
- – Rv Repair And Service Near Me Guasti, CA
- – Motorhome Repair Service Guasti, CA
- – Rv Solar Installation Guasti, CA
- – Rv Mechanics Near Me Guasti, CA
- – Best Rv Repair Near Me Guasti, CA
- – Motorhome Repair Near Me Guasti, CA
- – Rv Floor Repair Near Me Guasti, CA
- – Full Service Rv Repair Near Me Guasti, CA
- – Rv Service And Repair Near Me Guasti, CA
- – OCRV Center
Latest Posts
Fleet Service West Covina
Chino Hills Rv Upholstery
Awnings For Rv Santa Ana
More
Latest Posts
Fleet Service West Covina
Chino Hills Rv Upholstery
Awnings For Rv Santa Ana