All Categories
Featured
Table of Contents
- – Roof Repair For Rv Chino, CA
- – OCRV Center
- – Epdm Rv Roof Repair Chino, CA
- – Rubber Roof For Rv Chino, CA
- – Rubber Roofing For Rv Chino, CA
- – Rubber Roof Installation Chino, CA
- – Rv Fiberglass Roof Repair Chino, CA
- – Class C Rv Roof Repair Chino, CA
- – Rv Trailer Rubber Roof Repair Chino, CA
- – Rv Roof Repair Chino, CA
- – Rv Roof Replacement Chino, CA
- – Class C Rv Roof Repair Chino, CA
- – Epdm Rv Roof Repair Chino, CA
- – Rv Rubber Roof Repair Chino, CA
- – OCRV Center
Roof Repair For Rv Chino, CA
Long story short, Progressive paid our entire original Estimate - IN FULL. The client was really distressed due to the fact that they had Springtime Break camping plans, and we didn't recognize if we 'd be able to obtain the fixings done in time due to all the delays.
He called Progressive and needs to have been not-so-nice due to the fact that he obtained the adjustor's manager entailed. When the one in charge male talked to the consumer, he was playing it up huge. He stated so as to get the repair services done immediately so they could make their trip, we could purchase parts overnighted and they would certainly cover it.
It was tough throughout. Without entering into all of it, we did the roofing system our method - the right means - and they didn't require the adjustor ahead and evaluate it after tear-down. They enabled us to send pictures which, of training course, revealed the damages left after tearing up the initial EPDM.
Epdm Rv Roof Repair Chino, CA
Given all the difficulty Progressive had provided us over this repair work, we meant to hang onto the recreational vehicle up until we were assured repayment of the last $1,542.75 they had kept for the roofing system repair work. When we called them they sent out a screenshot of the demand for settlement to be released, stating they "wished it would be enough." Due to the fact that we actually liked this client and he did have plans, we allowed the recreational vehicle leave the store on 3/30/18.
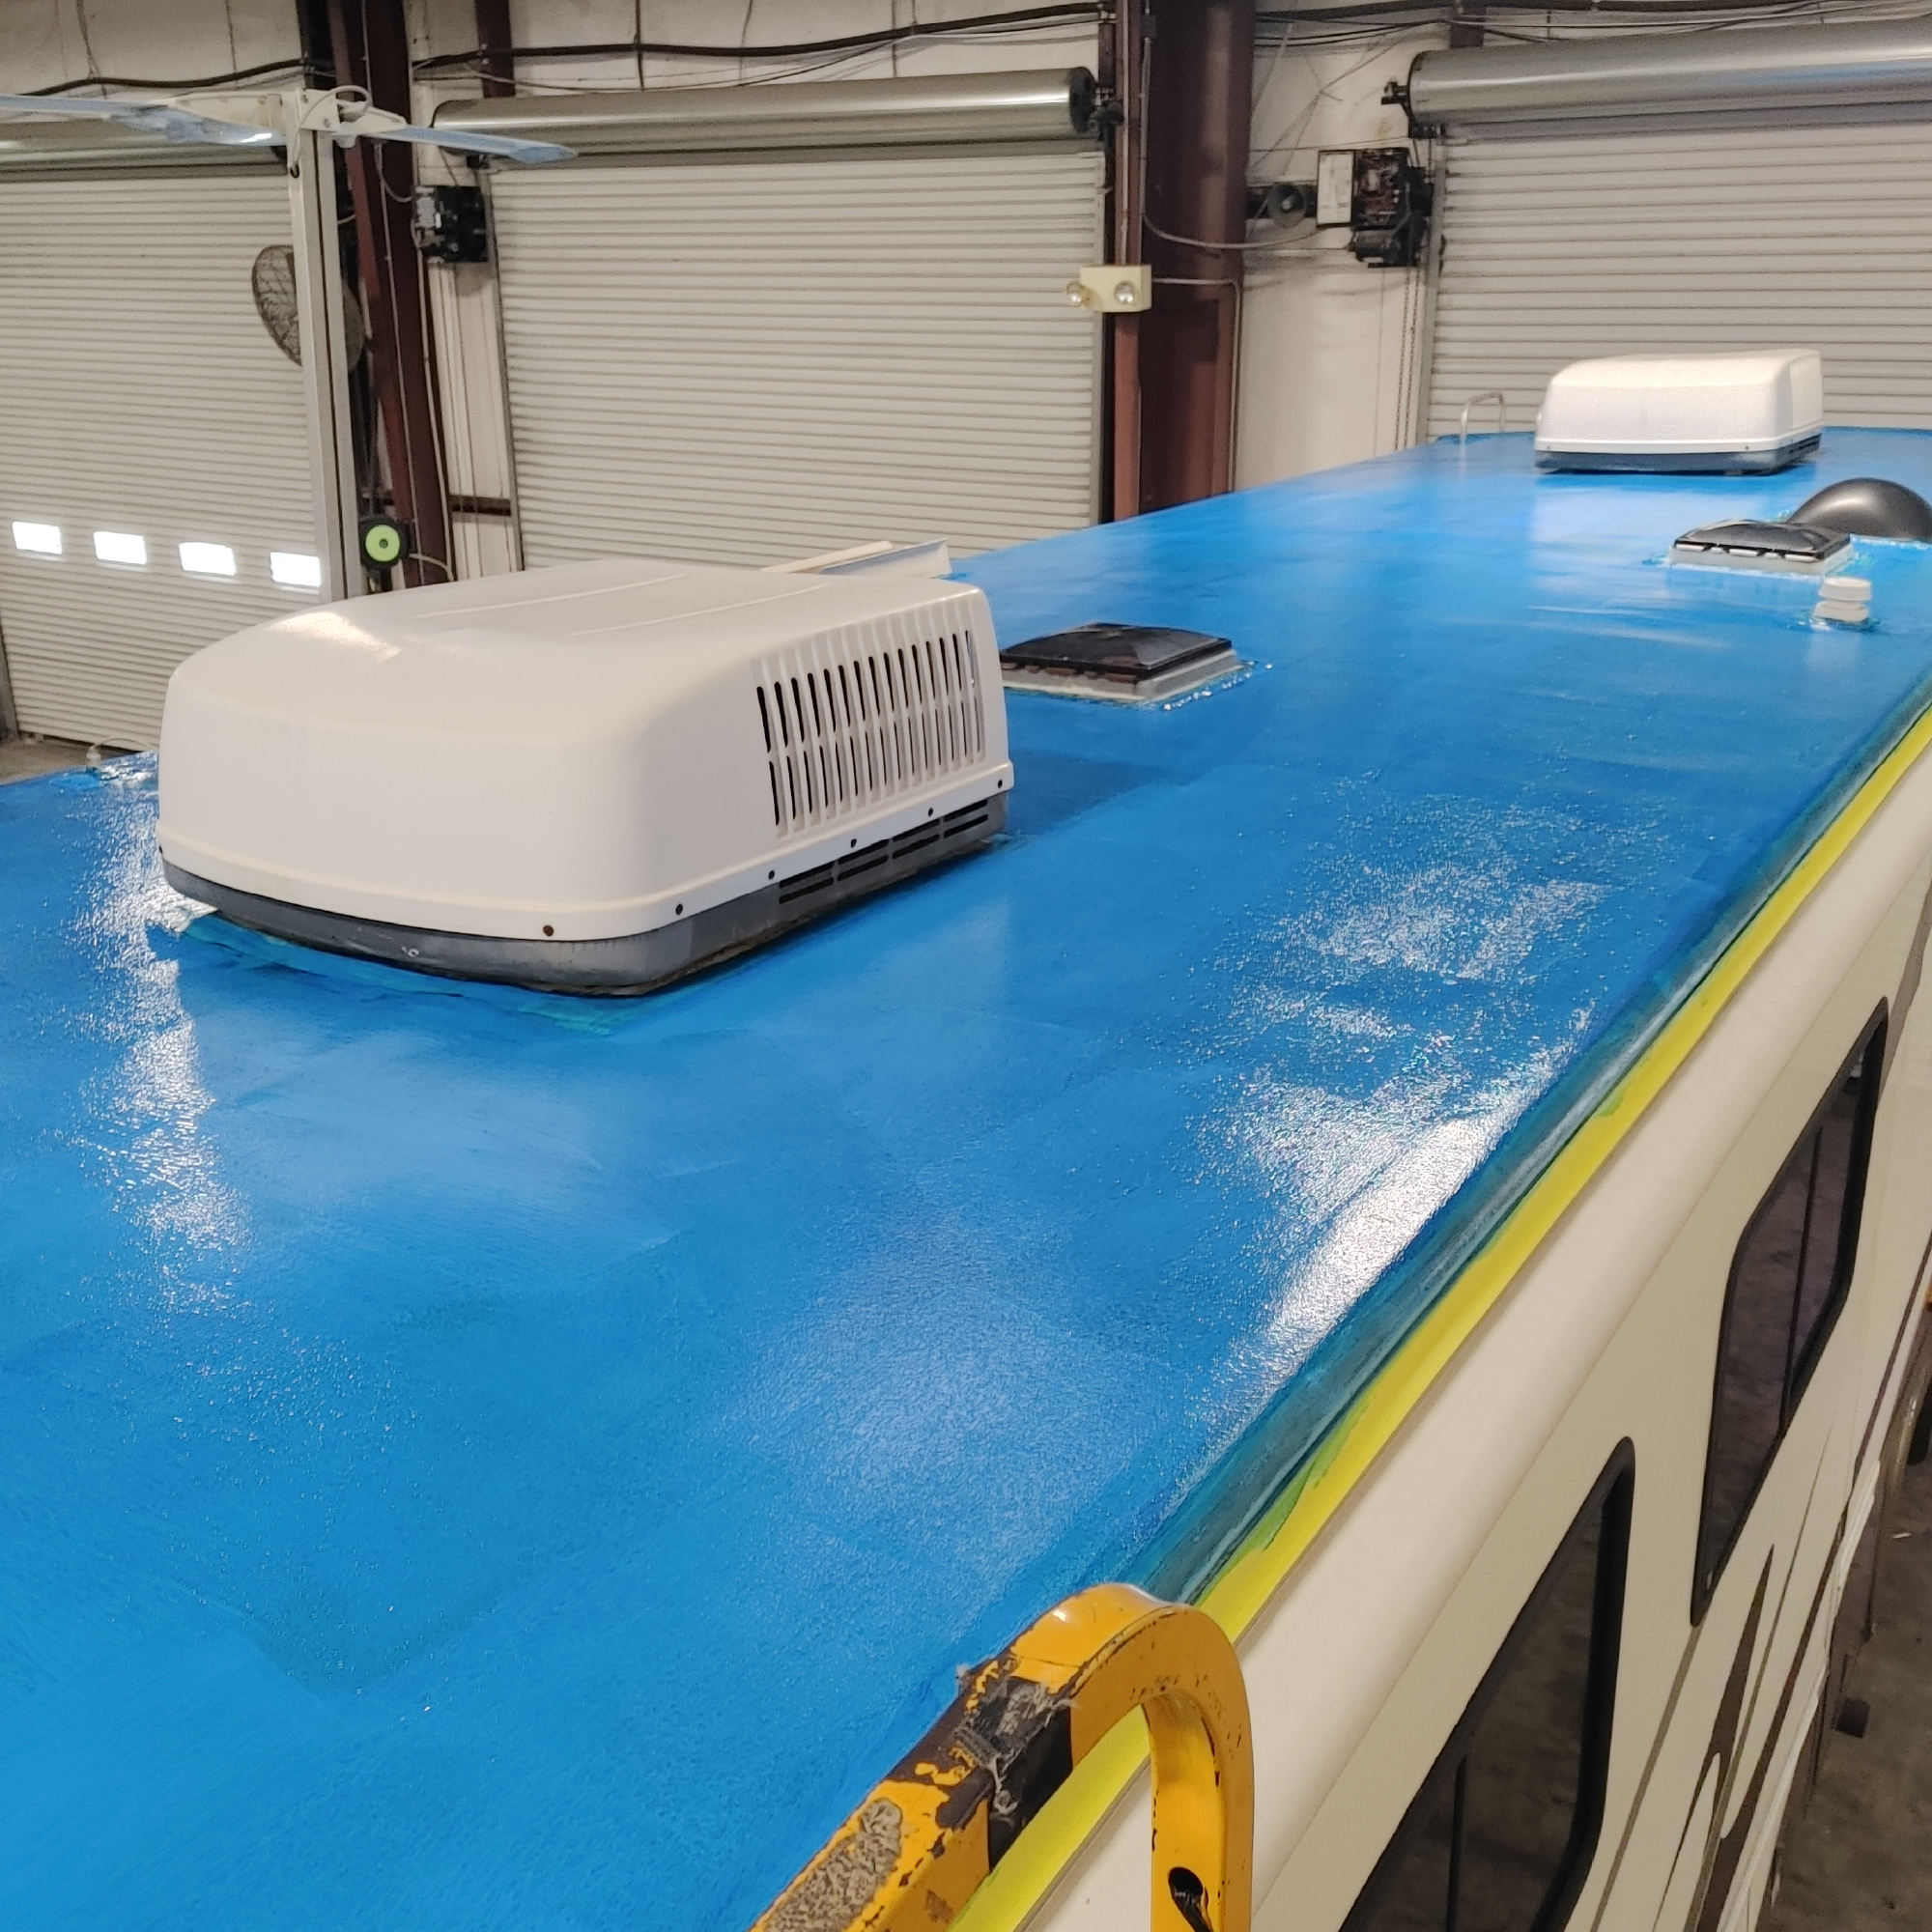
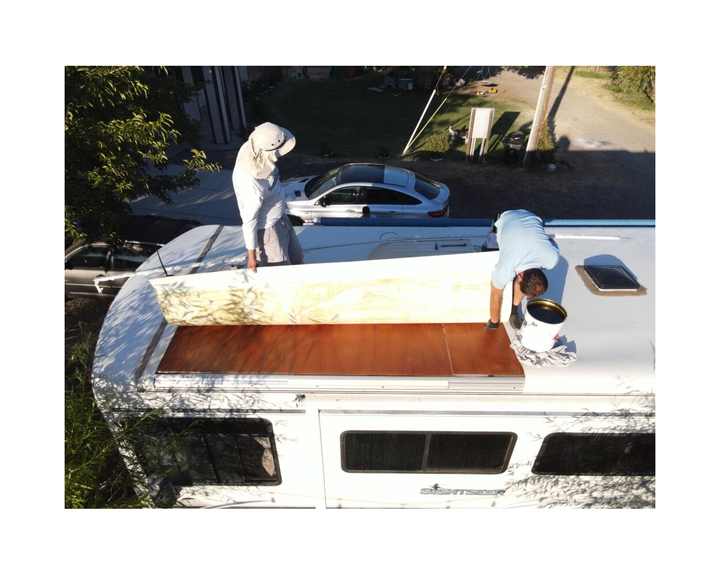
and really did not come ... and really did not come. When we contacted them once more, they said they 'd quit repayment and provide a new one. We ultimately obtained settlement 4/23/18. Got a one-line e-mail from the consumer the other day: "Exactly how unsatisfactory has this procedure been." He's shopping for new insurance policy. Images of roof with brand-new substratum, and after that finished.
Rubber Roof For Rv Chino, CA
Motor home roof covering fixing is vitally essential. Possibly you've found from experience that Motor home rubber roofings and tree branches do not blend.
It can endure temperatures from -50 F to +240 F without cracking. It can be strolled on, is versatile, and has good resistance to abrasion. As a result of its slow-moving aging rate in the sunlight, manufacturers frequently give a 10-12 year service warranty on their EPDM rubber roofings. The majority of rubber roofs will certainly see a life expectancy of 20+ years.
Rubber Roofing For Rv Chino, CA
Products like Flex Seal Liquid Rubber Sealer Layer come in a canister and are sprayed onto the damaged area. The sealer permeates right into cracks and holes and remains flexible as soon as completely dry. This fast and very easy repair method works well for small damages. Now I'll clarify just how to use a patch to the broken area, then I'll review spot sets and recreational vehicle roofing repair work tape in a lot more information.
Take a piece of EPDM rubber membrane layer and use a razor knife (or sharp scissors) to cut a patch 2 inches bigger than the damaged location. Round the edges and leave no rugged edges. The spot over the damaged area and make use of a pen or pencil to attract a line around the patch, marking its place on your roofing system.
Clean the area making use of a clean towel and a touch of scrubing alcohol or some Protect All Rubber Roofing Cleaner. A scrub pad may be used on stubborn dust, stains, sap, etc. Clean the bottom of the spot too (Rv Rubber Roof Repair Chino). Using safety handwear covers, use a thin coat of excellent quality cyanoacrylate sticky to the bottom of the patch.
Rubber Roof Installation Chino, CA
Set a bead of lap sealer over the edge of the patch. Once dry, your work is done and your motor home's roofing ought to await rain. Patch kits make RV roof covering fixing also much easier. Products like the Dicor Patchit Kit consist of a piece of peel and stick EPDM rubber.
Simply stick the patch on and secure the side with the lap sealant. Motor home roof covering repair service patch kit Tape is the most basic recreational vehicle roof covering fixing of all. EternaBond has actually been making a tough self-sealing tape for a variety of years currently. It's applied similar to any tape. Cut an item and lay it on your RV roof over the damaged area.
produces a lengthy lasting watertight seal on a range of surfaces, including EPDM rubber, TPO, Hypalon, metal, the majority of PVC, tile, wood, and concrete (Rv Rubber Roof Repair Chino). It has exceptional UV defense and is stated to last greater than 20 years. Recreational vehicle roofing system repair work tape by Dicor Dicor, the leading supplier of RV rubber roofs, has a self-sealing tape called Seal-Tite Tape
Rv Fiberglass Roof Repair Chino, CA
It quits leaks right away and has an extremely lengthy life span as well. As you would certainly when applying a spot, you'll require to eliminate all dirt and gunk from your roof covering prior to using the tape. RV roof covering repair work tape will not abide by silicone, so any type of silicone caulking requires to be removed initially.
Much better to be secure than sorry and obtain it fixed currently., after that clean the area to remove all dust and crud., which remains versatile when dried.
Class C Rv Roof Repair Chino, CA
Once dry, it has a smooth surface with a rubbery feeling. A choice to lap sealer is to make use of a RV roofing repair service tape, such as EternaBond RoofSeal or Dicor Seal-Tite on your recreational vehicle roof covering joints. These tapes are longer enduring than lap sealant, and as soon as you have actually secured your seams with it, you most likely will never need to do it once again.
My Recreational vehicle roofing system that needs to be changed! If you're like me and have even more time than cash, after that perhaps your finest option is to purchase an old Motor home and repair it up.
I obtain it. I acquired my motor home over a year ago and didn't have the intestines to start tackling this task up until today. However I'm here to inform you, if I can do it, you can do it. Can I actually do it? Remain tuned and find out! I purchased this 1993 Jamboree for $5000.
Rv Trailer Rubber Roof Repair Chino, CA
The catch? Water damage! I have actually never ever worked with a motor home prior to and I have to confess, I'm scared. I have actually done a lot of house improvement and I'm still frightened. That's since this is all new to me and I have no concept what to anticipate. Ideally if you're considering doing this yourself, following along on my RV roof covering substitute task will certainly provide you the guts to dive in! The devices I utilized today.
I acquired a 12 x 26 SuperMax Cover by ShelterLogic (over $450 on Amazon yet I bought mine from Northern Tool for about $340!) and boosted the legs with timber extensions to make the cover high sufficient that I might base on the roofing system and walk under it. That appeared to be my least expensive option.
I figured I would certainly rather have it semi-portable so I selected the canopy, plus this permits me to adjust the height backwards and forwards when I require to. Obviously the most inexpensive alternative of all would be to simply throw a great tarp over the top of your recreational vehicle for wet days and only service bright days! Initially I elevated the legs with 1 1/2 PVC pipe that fit inside the legs and after that I affixed a tube clamp around the PVC pipeline to stand up the cover legs.
Rv Roof Repair Chino, CA
This is still a little saggy. I possibly ought to have forked out for some inflexible steel pipe from the begin.
An old spot work on the RV rubber roofing. As you can see, this roofing system has actually had a great deal of concerns over the years.
I got hold of an energy blade and began slicing. The initial thing I discovered is that there were two layers. On the bottom is the initial EPDM rubber roofing layer. I understand it's EPDM rubber and not TPO rubber as a result of the black backing. (TPO roof is white on both sides.) In addition to my EPDM roofing is a slim motor home roofing system covering that was applied later on.
I simply left the roofing system coating stuck to the EPDM roof covering and pulled them up with each other. Beginning to peel off roofing system coating.
Rv Roof Replacement Chino, CA
I cut lines with an utility knife around components. All rubber roof covering removed from camper. This step went quite swiftly. There was a sticky under the lower layer of rubber that was still pretty well stuck in many locations, however with a great little bit of pressure it peeled off up easily.
Currently I can see all the damaged plywood roofing system decking under. DIRECTS! You may not want to peel off the rubber! I chose to remove the rubber prior to removing fixtures so I could see what I was dealing with. I have to alert you, the old adhesive was still sticky, and a pain to stroll on.
Class C Rv Roof Repair Chino, CA
If you assume you'll be saving the roof outdoor decking plywood (not replacing it), after that you may save on your own some cleanup difficulty by eliminating the components first and then peeling off up the rubber! Extra water damaged areas on Motor home roofing outdoor decking.
I went for the easiest one initially, a vent cap from a kitchen sink plumbing vent pipe. There is no other way around this, you just have to begin digging until you reveal the screw heads.
Loosening the screws in vent cap. The screws on this vent cap were hex-head steel screws so I used a little outlet vehicle driver to eliminate them.
I found an old wasp nest inside the air vent cover. This is a view I'll probably need to get utilized to, locating the remains of pet habitation in every nook and cranny. I spend an awful great deal of my time producing excellent wild animals habitat in my yard so I don't get annoyed when a creature chooses to set up home in my RV.
Epdm Rv Roof Repair Chino, CA
The good news is no one was home in this old nest so I simply tossed it. You must attempt not to damage these items (like vent covers and caps) as you're scratching off the old caulk and sealer simply in situation you need to utilize them once more.
Next I decided to deal with the only roof ventilation follower that my camper has. My roof covering air vent also had an air vent cover over it. Beginning on the roofing air vent.
Bolt is spinning. The bolts on this RV roofing system air vent cover were nuts on small bolts. The initial one came off fine with an expansion outlet package. The 2nd one just began rotating, implying the bolt was not dealt with in position however turning in addition to the nut. Bummer. A peek at the hardware holding down the roof air vent cover.
I didn't have any good way to hold the bolt in position so instead I decided to saw through the screws with a reciprocating saw. Sawing with screws on roofing system air vent cover. I utilized a cordless reciprocating saw with a metal-cutting blade but it was complicated to obtain the blade flat sufficient to get to the bolts so near to the roof covering deck.
Rv Rubber Roof Repair Chino, CA
Bending the blade a little bit to reach close to the roofing deck. When I had actually sawn via the staying three bolts, I pried up the cover. The brackets that were holding the cover in position. Cover removed from roof air vent. Then I unscrewed the braces from the flange of the vent follower itself.
Most were so old and rusted that they sheared off when I loosened then with a great deal of pressure. Unscrewing the braces that held the air vent cover in place. I scuffed a lot more caulk and roofing sealant off the flange of the roofing system vent itself. I soon discovered there disappeared screws or equipment quieting so I provided up on the scuffing and went inside the recreational vehicle After scratching the caulk and sealant from flange of roofing system vent, no even more screws! Unscrewing the inside cover plate of roofing system vent follower in RV shower room.
A couple sheared off with a great deal of pressure, however 2 wouldn't move. So I needed to drill out the screw heads. I chose a drill bit near to the size of the shaft of the screws that I had actually already taken out and started exploration. Choosing a drill little bit for drilling out a screw head.
OCRV Center
Address: 23281 La Palma Ave Yorba Linda, CA 92887Phone: (714) 909-1444
Email: [email protected]
OCRV Center
Safety and security glasses suggested. So I drilled out the heads, one stood out off and the various other I was obtaining irritated with and gave it a yank prior to it was pierced through. As opposed to popping off the screw head, the plastic simply melted away around the warm screw head. Whoops. Hope I don't need to reuse this cover.
Rv Rubber Roof Maintenance Chino, CARv Rubber Roof Replacement Chino, CA
Rv Rubber Roof Replacement Chino, CA
Rubber Roof For Camper Chino, CA
Rv Rubber Roof Replacement Chino, CA
Rv Trailer Roof Repair Chino, CA
Resealing Rv Roof Chino, CA
Rv Roof Leak Repair Near Me Chino, CA
Motorhome Roof Replacement Chino, CA
Rv Roof Replacement Chino, CA
Rv Rubber Roof Repair Chino, CA
Rubber Roof For Camper Chino, CA
Rv Roof Replacement Chino, CA
Epdm Rv Roof Repair Chino, CA
Resealing Rv Roof Chino, CA
Rv Roof Replacement Chino, CA
Resealing Rv Roof Chino, CA
Rubber Roof For Rv Chino, CA
Rv Rubber Roof Replacement Chino, CA
Rubber Roof Installation Chino, CA
Resealing Rv Roof Chino, CA
Rubber Roofing For Campers Chino, CA
Resealing Rv Roof Chino, CA
Rv Roof Replacement Chino, CA
Rv Roof Replacement Chino, CA
Rubber Roofing For Campers Chino, CA
Rv Slide Out Roof Repair Chino, CA
Rubber Roofing For Rv Chino, CA
Roof Repair For Rv Chino, CA
Rv Trailer Rubber Roof Repair Chino, CA
Rubber Roof Installation Chino, CA
Rv Trailer Rubber Roof Repair Chino, CA
Roof Repair For Rv Chino, CA
Rv Slide Out Roof Repair Chino, CA
Rubber Roof For Rv Chino, CA
Replace Rv Roof Chino, CA
Rubber Roofing For Campers Chino, CA
Resealing Rv Roof Chino, CA
Rv Roof Repair Service Near Me Chino, CA
Rubber Roofing For Rv Chino, CA
Rv Rubber Roof Replacement Chino, CA
Rubber Roofing For Campers Chino, CA
Rv Roof Repair Near Me Chino, CA
Epdm Rv Roof Repair Chino, CA
Best Rv Roof Repair Chino, CA
Rv Roof Repair Chino, CA
Repair Rv Roof Chino, CA
Rv Rubber Roof Maintenance Chino, CA
Rv Roof Repair Fiberglass Chino, CA
Rv Rubber Roof Replacement Chino, CA
Repair Rv Roof Leak Chino, CA
Rv Roof Repair Fiberglass Chino, CA
Rv Slide Out Roof Repair Chino, CA
Rubber Roof Installation Chino, CA
Repair Rv Roof Chino, CA
Rv Roof Leak Repair Chino, CA
Rv Roof Maintenance Chino, CA
Rv Rubber Roof Maintenance Chino, CA
Rv Roof Repair Fiberglass Chino, CA
Rubber Roof Installation Chino, CA
Rv Rubber Roof Maintenance Chino, CA
Repair Rv Roof Chino, CA
Rv Roof Leak Repair Chino, CA
Resealing Rv Roof Chino, CA
Rv Trailer Roof Repair Chino, CA
Rv Rubber Roof Maintenance Chino, CA
Rubber Roofing For Campers Chino, CA
Rv Roof Repair Chino, CA
Rv Roof Replacement Chino, CA
Rubber Roofing For Rv Chino, CA
Rv Roof Leak Repair Chino, CA
Rubber Roofing For Rv Chino, CA
Repair Rv Roof Chino, CA
Rv Roof Repair Near Me Chino, CA
Rv Roof Repair Service Near Me Chino, CA
Resealing Rv Roof Chino, CA
Class C Rv Roof Repair Chino, CA
Roof Repair For Rv Chino, CA
Find A Good Local Seo Plans Chino, CA
Companies Near Me Seo Service Chino, CA
Rv Rubber Roof Repair Chino, CA
OCRV Center
Table of Contents
- – Roof Repair For Rv Chino, CA
- – OCRV Center
- – Epdm Rv Roof Repair Chino, CA
- – Rubber Roof For Rv Chino, CA
- – Rubber Roofing For Rv Chino, CA
- – Rubber Roof Installation Chino, CA
- – Rv Fiberglass Roof Repair Chino, CA
- – Class C Rv Roof Repair Chino, CA
- – Rv Trailer Rubber Roof Repair Chino, CA
- – Rv Roof Repair Chino, CA
- – Rv Roof Replacement Chino, CA
- – Class C Rv Roof Repair Chino, CA
- – Epdm Rv Roof Repair Chino, CA
- – Rv Rubber Roof Repair Chino, CA
- – OCRV Center
Latest Posts
Medicare Dental Insurance For Seniors Lake Forest
Best Senior Insurance Fountain Valley
Stanton Best Health Insurance Plans Near Me
More
Latest Posts
Medicare Dental Insurance For Seniors Lake Forest
Best Senior Insurance Fountain Valley
Stanton Best Health Insurance Plans Near Me