All Categories
Featured
Table of Contents
- – Replacement Rv Windows Foothill Ranch, CA
- – OCRV Center
- – Rv Chairs Foothill Ranch, CA
- – Rv Interior Furniture Foothill Ranch, CA
- – Rv Dinette Table Foothill Ranch, CA
- – Rv Floor Replacement Foothill Ranch, CA
- – Rv Couch Bed Foothill Ranch, CA
- – Rv Replacement Awnings Foothill Ranch, CA
- – Rv Dinette Table Foothill Ranch, CA
- – Awnings For Rv Foothill Ranch, CA
- – Rv Refrigerator Replacement Foothill Ranch, CA
- – Replacement Windows For Campers Foothill Ran...
- – Replacement Windows For Rv Foothill Ranch, CA
- – OCRV Center
Replacement Rv Windows Foothill Ranch, CA
This assists bounce sunshine away, further lowering warm inside your motor home. Combined with tones, you've obtained an economical insulation option. A fantastic brand to think about is Reflectix (as included listed below). Currently, allow's deal with the condensation concern. Some RVers assert that twin pane windows reduce condensation, but below's the scoop: the window make-up does not impact your RV's moisture.
To tackle it, you'll require a dehumidifier. Throughout the summertime, recreational vehicle ac unit normally evaporate. In the winter months, you shed this moisture-fighting impact. If you're winter camping, consider investing in a dehumidifier to maintain condensation at bay. One obvious advantage of dual pane windows is their noise-canceling expertise. They do an impressive task at lowering outdoors sound, producing an extra tranquil space.
Now, let's speak regarding Euro-style home windows. These are a rarity in the Motor home globe, including a real twin pane with a hollow core in between.
If you find the best Motor home that lacks the thermal pane window checkbox, do not worry. You can achieve better insulation with tones and reflective foil, all for a fraction of the price of those costly window upgrades.
Rv Chairs Foothill Ranch, CA
Your motor home's windows are the secret to pleasurable camping, letting you see all the views of the road and your destinations. Rv Refrigerator Replacement Foothill Ranch. If you're driving a motorhome, the windscreen is the most vital home window on the whole motor home. Despite which kind of recreational vehicle you own, your home windows are a vital part of camping
Older Recreational vehicles were constructed with much less innovative window systems, so there is damage that might be evident. Not to fret, you can see things plainly once more by changing your motor home windows! Some motor home window concerns might be solved when you deep clean your RV, however specific issues like fog, scrapes, or concerns with the casing of the home window may suggest it's time to replace your RV home windows.
There are splits, deep scrapes, or chips in the windows. Wind or water gets in the rig from around the windows, also when the home windows are closed. When replacing your Recreational vehicle home windows, you're able to select the right window for your RV and your demands.
Rv Interior Furniture Foothill Ranch, CA
There are additionally alternatives such as clear glass, pebbled windows, and colored motor home home windows. Your design, protection, and window utilize requirements will certainly help identify which sort of recreational vehicle window you select. Your motor home's home window structures combine the exterior and interior components of your motor home, and they ought to be correctly mounted to make sure that the sidewall's seal remains leak-proof.
The best method to make certain that your recreational vehicle window replacements are mounted correctly is to leave it to the professionals. Our RV solution professionals can change any kind of home windows and glass on your motor home, including the windshield, side windows, and even the more intricate recreational vehicle door home window substitute. Door home windows, otherwise set up properly, can rattle when you're using the recreational vehicle door, so leave that repair service to our experts at Lazydays RV.
There is an overall style difference. One of the big things is the method they are produced shunning water. The residential windows are made to be stationary. In a regular horizontal slider application, they secure water and air through a finned weatherstrip and additionally some have soft rubber gaskets.
Rv Dinette Table Foothill Ranch, CA
Take that same home window and spray water at 60 miles an hour laterally and water will move in through the interlock bar, especially leading and lower. The closing/ locking mechanisms on a stick and blocks window are not made for movement. Several have a decrease lock or swivel catch just and it would walk around during traveling.
Residential home windows are physically bigger and would not fit the wall thickness. Our common RV wall surface is much less than half the density of the conventional 2X4 household wall surface.
Rv Floor Replacement Foothill Ranch, CA
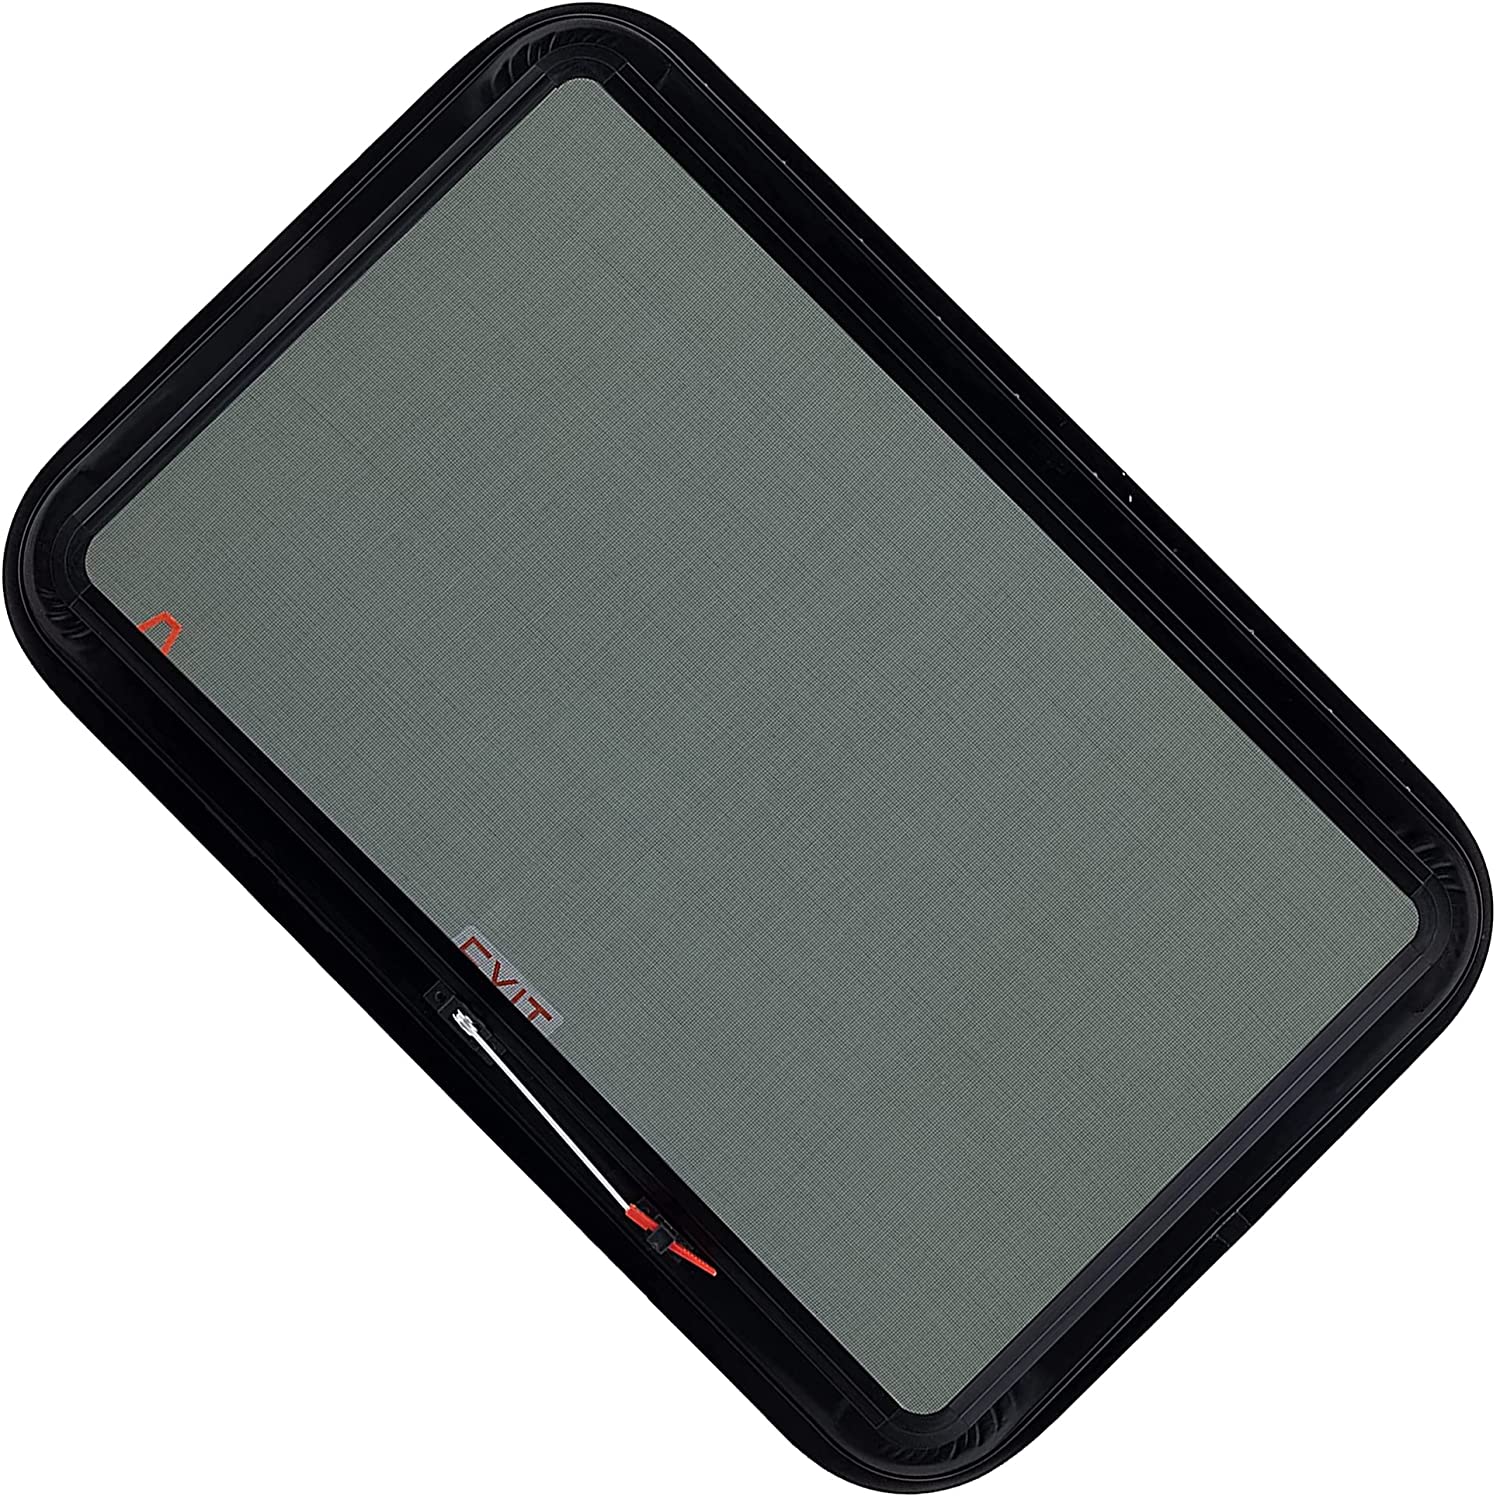
These windows open outward with a crank system, enabling air flow while reducing rain access. Typically larger home windows that do closed, providing unobstructed views and light if geared up. Prior to we study the operation of motor home home windows, it's vital to understand exactly how they are set up. Right here's a quick summary of the components associated with a common home window installment: The main glass system.
Bolts securing the preserving ring. Supplies a leak-proof seal around the window. These parts are installed on the production line quickly after the wall assembly, making certain the architectural integrity of your motor home. While recreational vehicle windows differ from household home windows, they require routine interest and upkeep to stay clear of concerns like water leaks.
See to it to look for room-by-room display removal as needed. To make sure the long life and performance of your RV home windows, take into consideration the following pointers: Check out the location where the window meets the wall for any type of spaces or voids. Clean the area extensively before using silicone sealer. In extreme instances, you may need to get rid of the window and reinstall it using putty or foam seal.
We urge customers to verify the contents and talk to their supplier or Keystone RV for the most present info. If you have any inquiries or need further information, please do not be reluctant to call your supplier or connect to Keystone motor home straight.
Rv Couch Bed Foothill Ranch, CA
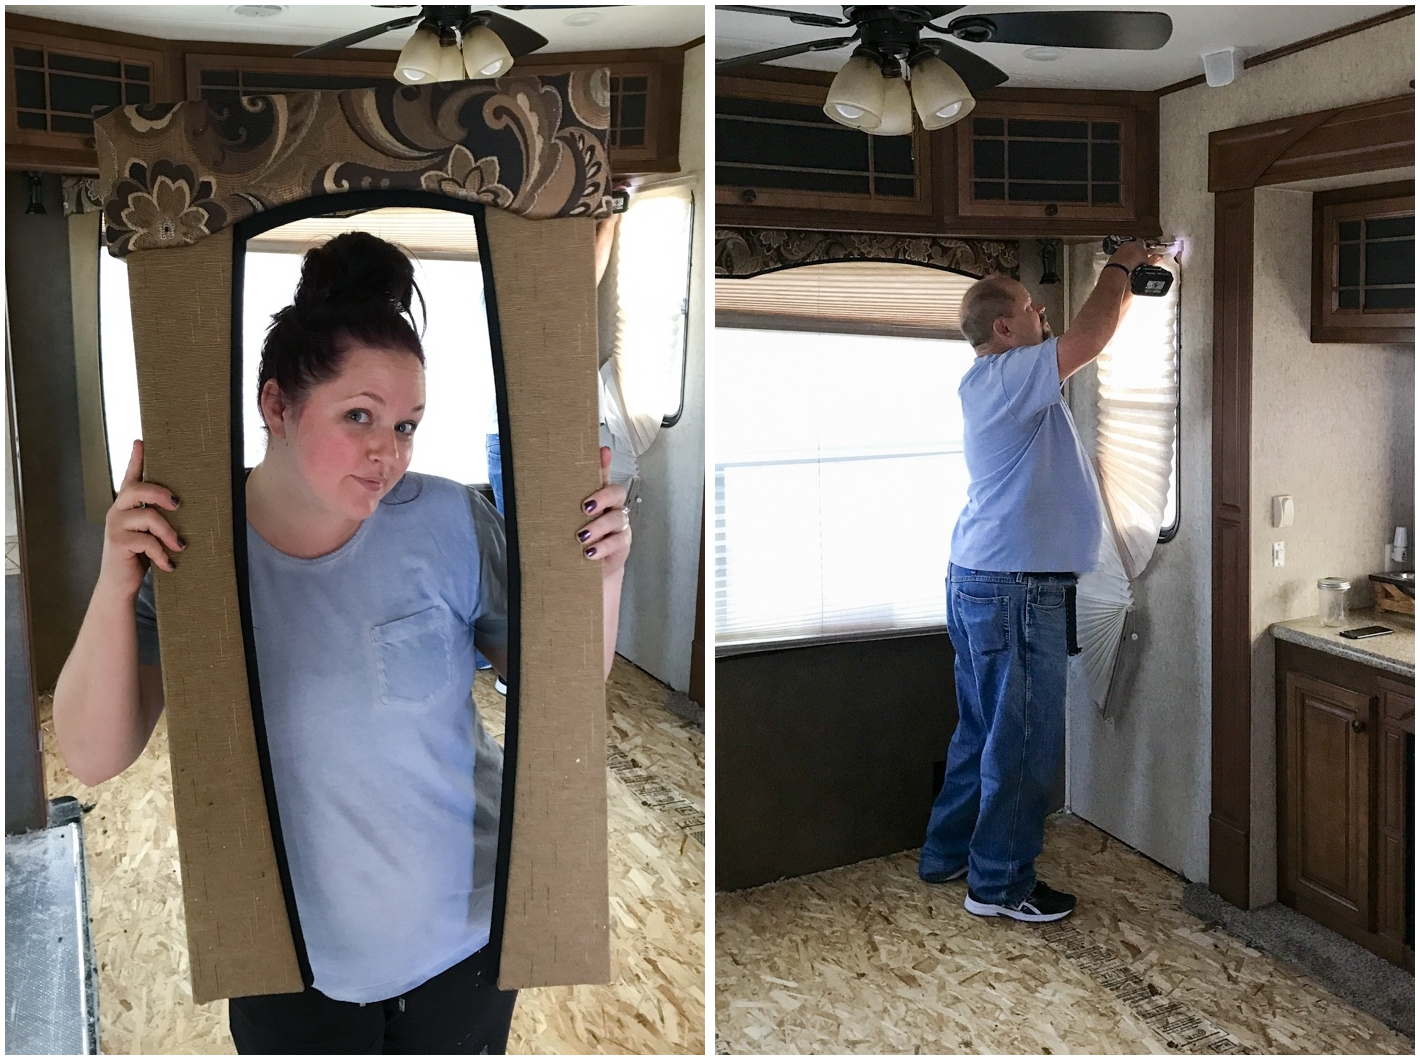
A RV is component house and component lorry, and occasionally, after the "house" has actually been driven for miles and miles over rough roads, maintenance issues can occur. Among the potential repair services that a recreational vehicle proprietor may deal with is a RV home window substitute. We faced this concern a number of years ago and met it head-on with our wish to DIO (Do It Ourselves) as a lot of our very own RV upkeep and repair service jobs as feasible.
These are the tools we required for our camper home window substitute. Depending on your RV, you might or may not need all of these devices for your project.
Despite where you buy your brand-new motor home window, you'll need to offer exact measurements. Let's break down our procedure for measuring a RV window for substitute. Begin by eliminating any window valance, blinds, or shades. Next off, remove all screws around the boundary of the home window, and get rid of the within framework.
Rv Replacement Awnings Foothill Ranch, CA
Don't put any outward pressure on the home window while taking your measurements or it can come loosened and loss. For additional security, you may want to have an assistant on a ladder outside, holding the home window in position while you gauge. Very carefully eliminate the framework of your old home window to make sure that you can measure the opening (NOT the home window itself).
For our rectangular home window, we needed to take only 4 dimensions. Please keep in mind that we're determining the opening itself. Making use of a determining tape, take cautious note of the width and elevation of the opening. It's an excellent concept to take measurements at several factors so you have a concept of just how easily the window opening was cut.
Next off, determine the density of the wall surface (depth of the home window), from the outside wall surface area to the indoor wall surface. For this dimension, use your leader (with dimensions that run completely throughout). Put the ruler into the wall surface until it touches the outside of the home window structure.
Rv Dinette Table Foothill Ranch, CA
Dimensions of the old window and the home window opening are typically different. They can vary as much as half an inch on the sides, leading, and base. Home window suppliers utilize filler strips to maintain the home window degree and snug. This is why it's so essential to measure the opening and not the initial home window itself.
Step two times, cut when, right? Take your time to get an accurate dimension, and verify it by gauging a 2nd time. Precise dimensions are very important to motor home home window replacement. We don't wish to freely gauge and round up or down. Always measure to the nearby 1/16th of an inch. Take a close take a look at your measuring tape and make sure you know which are the 1/16th-inch dimensions.
Awnings For Rv Foothill Ranch, CA
The window suppliers are the best authorities on mounting their items. The supplier of your new RV home window has likely consisted of practical standards or suggestions to make the setup much easier.
Make sure the window is OPEN so that you can firmly grasp the window as it falls out of the opening, when the seal is broken. Scratch off any remaining sealant utilizing your plastic putty knife, and cleanse off any type of continuing to be particles making use of mineral spirits. Provide the area a last cleaning making use of massaging alcohol to make certain that the area around the home window opening is cost-free of any type of oily residue.
Rv Refrigerator Replacement Foothill Ranch, CA
Begin by setting your new home window on a level surface covered with a soft towel, with the beyond the home window facing down. Clean all the method around the side with scrubing alcohol and a clean fabric. This will make sure that the surface is clear of all residue. Using the consisted of roll of double-sided, closed-cell foam tape, use the tape.
Eliminate the paper backing of the tape just before rounding each edge for an ideal, level, unbroken seal. When you get to the end, cut the tape to enable regarding inch of completion of the tape to overlap the point where you started. Once you've brought the foam tape around to meet the beginning, overlap the end of the tape about 1/2 inch, making certain a great seal.
It may seem weird to wet something you wish to stick, yet it will aid you to put the window WITHOUT it sticking to the recreational vehicle sidewall. When the water vaporizes, it will allow the frame of the home window to abide by the external wall of the motor home, providing a water-tight seal.
Set the brand-new window right into the opening gently do not press the tape into area just. Rv Refrigerator Replacement Foothill Ranch. As soon as the window is located properly, push against the window framework from the outside, strongly adhering the foam tape to the RV.
Replacement Windows For Campers Foothill Ranch, CA
See our video at the top of this post for explicit guidelines on the most effective procedure for screwing in the brand-new window frame appropriately. Clean off any excess water, press the 2 drainpipe covers right into place at the bottom of the structure, and stand out the display right into its track. If your RV's producer made use of sealer at the top of your windows as Newmar finished with ours, we suggest replacing that sealer right now making use of the Pro-Flex motor home Sealer.
Be sure the window is OPEN to make sure that you can securely realize the window as it drops out of the opening, when the seal is broken. Scrape off any kind of staying sealant utilizing your plastic putty blade, and clean up off any kind of remaining debris using mineral spirits. Provide the area a final cleansing utilizing rubbing alcohol to make certain that the location around the home window opening is devoid of any type of oily residue.
Begin by establishing your new home window on a level surface area covered with a soft fabric, with the beyond the home window dealing with down. Tidy completely around the edge with rubbing alcohol and a clean fabric. This will certainly ensure that the surface is clear of all deposit. Using the consisted of roll of double-sided, closed-cell foam tape, apply the tape.
Get rid of the paper backing of the tape just prior to rounding each corner for an ideal, level, unbroken seal. When you reach completion, reduced the tape to permit concerning inch of completion of the tape to overlap the point where you started. When you have actually brought the foam tape around to meet the beginning, overlap completion of the tape about 1/2 inch, ensuring a great seal.
Replacement Windows For Rv Foothill Ranch, CA
It might appear odd to damp something you desire to stick, yet it will certainly aid you to position the window WITHOUT it staying with the motor home sidewall. Rv Refrigerator Replacement Foothill Ranch. Once the water evaporates, it will allow the structure of the home window to abide by the external wall surface of the RV, offering a water-tight seal
Establish the new window into the opening gently don't push the tape into area simply. Once the window is located properly, push versus the window framework from the outdoors, strongly sticking the foam tape to the RV.
OCRV Center
Address: 23281 La Palma Ave Yorba Linda, CA 92887Phone: (714) 909-1444
Email: [email protected]
OCRV Center
See our video on top of this article for specific instructions on the ideal procedure for screwing in the brand-new home window structure correctly. Rub out any kind of excess water, press both drain covers into place at the end of the structure, and pop the display into its track. If your recreational vehicle's maker made use of sealant on top of your windows as Newmar made with ours, we recommend changing that sealer currently using the Pro-Flex recreational vehicle Sealant.
Replacement Windows For Campers Foothill Ranch, CARv Couch Bed Foothill Ranch, CA
Replacement Rv Refrigerator Foothill Ranch, CA
Rv Replacement Awnings Foothill Ranch, CA
Rv Chairs Foothill Ranch, CA
Rv Sofa Beds Foothill Ranch, CA
Awnings For Trailers Foothill Ranch, CA
Rv Floor Replacement Foothill Ranch, CA
Rv Upholstery Foothill Ranch, CA
Rv Dining Table Foothill Ranch, CA
Remodeling Rv Foothill Ranch, CA
Rv Sofas Foothill Ranch, CA
Rv Couch Bed Foothill Ranch, CA
Awnings For Rv Foothill Ranch, CA
Rv Dinette Booth Foothill Ranch, CA
Rv Couch Bed Foothill Ranch, CA
Rv Sofa Beds Foothill Ranch, CA
Rv Sofas Foothill Ranch, CA
Replacement Windows For Campers Foothill Ranch, CA
Rv Interior Remodel Foothill Ranch, CA
Rv Interior Furniture Foothill Ranch, CA
Replacement Rv Refrigerator Foothill Ranch, CA
Rv Dinette Table Foothill Ranch, CA
Rv Couch Foothill Ranch, CA
Remodeling Rv Foothill Ranch, CA
Rv Replacement Furniture Foothill Ranch, CA
Rv Restoration Companies Foothill Ranch, CA
Motorhome Carpets Foothill Ranch, CA
Rv Interior Furniture Foothill Ranch, CA
Rv Interior Furniture Foothill Ranch, CA
Rv Couch Bed Foothill Ranch, CA
Rv Refrigerator Replacement Foothill Ranch, CA
Rv Couch Bed Foothill Ranch, CA
Rv Replacement Awnings Foothill Ranch, CA
Rv Couch Foothill Ranch, CA
Rv Upholstery Foothill Ranch, CA
Awnings For Rv Foothill Ranch, CA
Rv Dining Table Foothill Ranch, CA
Rv Sofas Foothill Ranch, CA
Remodeling Rv Foothill Ranch, CA
Replace Rv Flooring Foothill Ranch, CA
Motorhome Carpets Foothill Ranch, CA
Rv Carpet Replacement Foothill Ranch, CA
Replacement Windows For Rv Foothill Ranch, CA
Rv Sofas Foothill Ranch, CA
Rv Sofas Foothill Ranch, CA
Awning Installation Foothill Ranch, CA
Replacement Rv Refrigerator Foothill Ranch, CA
Awnings For Trailers Foothill Ranch, CA
Rv Dining Table Foothill Ranch, CA
Rv Dinette Table Foothill Ranch, CA
Awnings For Rv Foothill Ranch, CA
Remodeling Rv Foothill Ranch, CA
Rv Replacement Furniture Foothill Ranch, CA
Rv Sofa Sleeper Foothill Ranch, CA
Replacement Rv Refrigerator Foothill Ranch, CA
Rv Dining Table Foothill Ranch, CA
Rv Restoration Companies Foothill Ranch, CA
Motorhome Carpets Foothill Ranch, CA
Rv Sofa Sleeper Foothill Ranch, CA
Awnings For Trailers Foothill Ranch, CA
Rv Couch Bed Foothill Ranch, CA
Rv Chairs Foothill Ranch, CA
Rv Couch Bed Foothill Ranch, CA
Rv Carpet Replacement Foothill Ranch, CA
Replace Rv Flooring Foothill Ranch, CA
Replacement Windows For Rv Foothill Ranch, CA
Rv Replacement Awnings Foothill Ranch, CA
Rv Microwave Replacement Foothill Ranch, CA
Replacement Rv Refrigerator Foothill Ranch, CA
Rv Interior Remodel Foothill Ranch, CA
Rv Couch Bed Foothill Ranch, CA
Replace Rv Flooring Foothill Ranch, CA
Rv Carpet Installation Foothill Ranch, CA
Replace Rv Flooring Foothill Ranch, CA
Rv Carpet Replacement Foothill Ranch, CA
Rv Floor Replacement Foothill Ranch, CA
Awnings For Rv Foothill Ranch, CA
Find A Good Seo Companies Foothill Ranch, CA
In My Area Seo Firm Foothill Ranch, CA
OCRV Center
Table of Contents
- – Replacement Rv Windows Foothill Ranch, CA
- – OCRV Center
- – Rv Chairs Foothill Ranch, CA
- – Rv Interior Furniture Foothill Ranch, CA
- – Rv Dinette Table Foothill Ranch, CA
- – Rv Floor Replacement Foothill Ranch, CA
- – Rv Couch Bed Foothill Ranch, CA
- – Rv Replacement Awnings Foothill Ranch, CA
- – Rv Dinette Table Foothill Ranch, CA
- – Awnings For Rv Foothill Ranch, CA
- – Rv Refrigerator Replacement Foothill Ranch, CA
- – Replacement Windows For Campers Foothill Ran...
- – Replacement Windows For Rv Foothill Ranch, CA
- – OCRV Center
Latest Posts
Low Cost Dental Services For Seniors Without Insurance Fullerton
Insurance For Seniors Dana Point
Anaheim Payroll Service For Small Business
More
Latest Posts
Low Cost Dental Services For Seniors Without Insurance Fullerton
Insurance For Seniors Dana Point
Anaheim Payroll Service For Small Business